General Information
Happy safety riding with bicycle sharing happiness
General Information
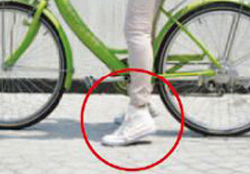
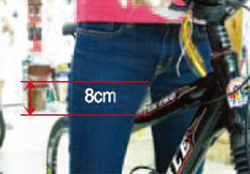
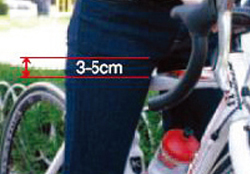
Choosing the correct bicycle size
Bicycle inspection and maintenance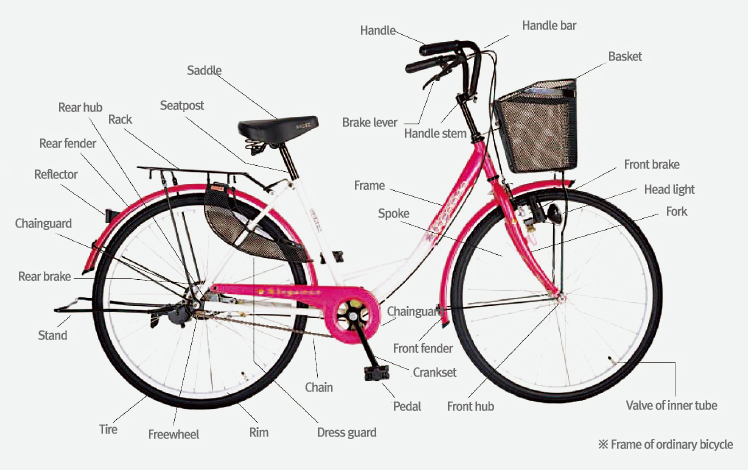
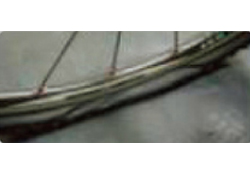
Checking your bicycleBrakeCheck brake pads for wear and twisting; check brake operation by squeezing front and back brake levers one at a time. PedalsCheck that they are securely fixed. SaddleCheck that it is properly aligned and securely fised. TiresCheck air pressure and tread wear. ChainCheck for wear and corrosion, and keep the chain clean and well-lubricated. GearsCheck front and rear gear-changing: if adjustment is necessary, it may be necessary to have professional work on it. Headlamp, rear reflectorCheck for damage and sufficient brightness. The headlamp should be white, and the rear reflector should be red. 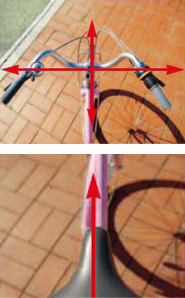
Simple Maintenance
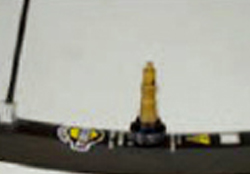
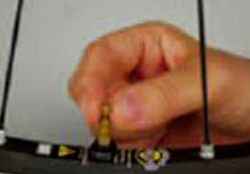
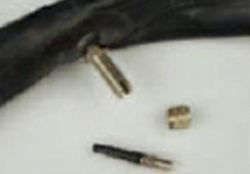
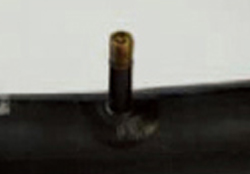
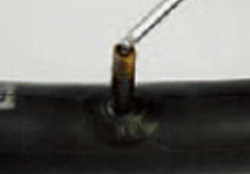
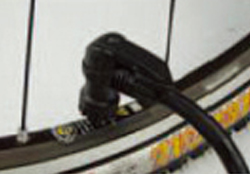
Inflating tiresTypes of valves on inner tubes
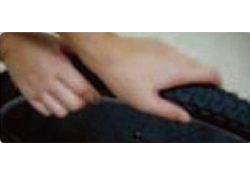
Correct air pressureMake sure you pump the tire to the correct air pressure using the gauge on the pump, or by checking the firmness of the tire by hand.
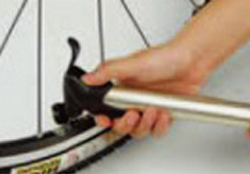
Correct use of the bicycle pumpAfter attaching the head of the pump to the valve, lift up the lever on the pump head to fixx it to the valve.
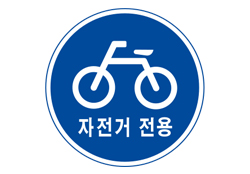
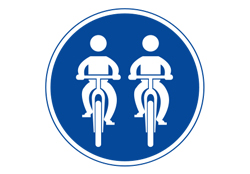
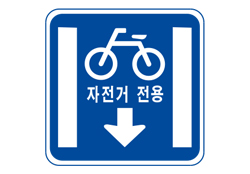
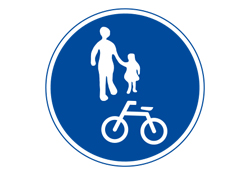
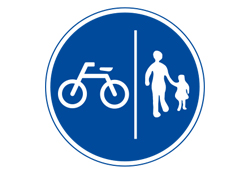
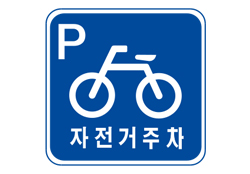
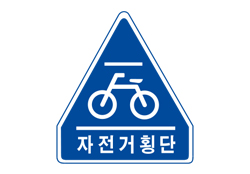
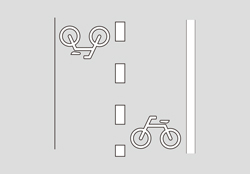
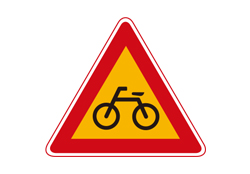
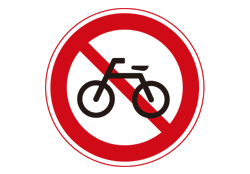
Bicycle-related traffic safety signs and hand signalsTraffic safety signs
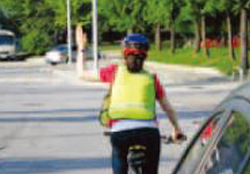
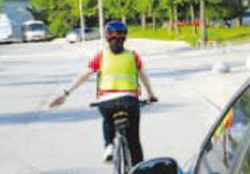
Hand signalsThe cyclist should use hand signals to show changes in direction, and continue the signal until the movement is completed. Lett turn
Right turn
To signal stopping
To signal the vehicle behind to passTo signal the vehicle behind to pass, straighten your lett arm and wave it back and forth. To signal slowing downTo signal slowing down, stretch your lett arm downward at a 45 degree angle and shake it up and down. |